

So... we had a custom request a little while ago asking us to make a pug plushie - but not too cartoony, more on the realistic side of things. But still cute. And not too big. lol
So I had a chance to sit down yesterday and draw up a pattern (sketches shown above). This is probably the most stressful part of the process for me because there's no guarantee that a new pattern is going to actually all assemble together and look right. And there's not a great deal you can do to change things once the pieces are cut, sewn and stuffed. But with a hell of a lot of google image researching on all the different faces of pug pups and dogs, I was pretty happy with my design. It was as good as I was going to get it with my skill set anyways.
You can see the raw pieces cut and roughly placed together below. I knew I wanted to create pug-type wrinkles, so I needed to allow extra fabric and volume to both the head and body pieces to allow me to do this without warping the shapes. I also needed a fur fabric that wasn't fluffy, or too richly coloured as I wanted to add the colouring myself when the shaping was finished. We had a little bit of a pearl-coloured velvetty mini-bear fabric that was (thankfully) perfect!


This monstrosity was the head just after it was sewn, stuffed and the neck joint added. It looks NOTHING like a pug here - which did worry me a little - but I knew most of the character would come from the shaping and shading.


First thing to do was to crinkle up that nose-bridge wrinkle. Not all pugs seem to have them, but I really liked the look of the photos I saw that did, so I decided to incorporate it into this design.

Then we needed to choose some eyes that were big enough to give the distinctive bulging-eyed pug look, but not so big that we started to head towards 'cartoon-zone'. We sculpted some polmer clay lids and also sculpted a snub little pug-nose.


Next step was to set the nose just below the first wrinkle (we did end up tightening it again later on in thew process to pull it in more flush with the face though as it still stuck out a bit too much here).

Then the eyes were set and little eyebrow wrinkles were sculpted.


Ears were added. Again - no colouring/shading was added until the end. I could have cut the ears from a black coloured fabric though, but I wanted to keep the look more uniform this time.


At this point we had attached the head to the body and closed all the seams. But the body still needed it's wrinkles.
That was a time consuming process that took most of the evening... and I think I probably went a little overboard - but its still pretty cute.

We added a little bit of the black shading last night before bed to allow it to dry before further work in the morning. Already the real pug look was taking shape.


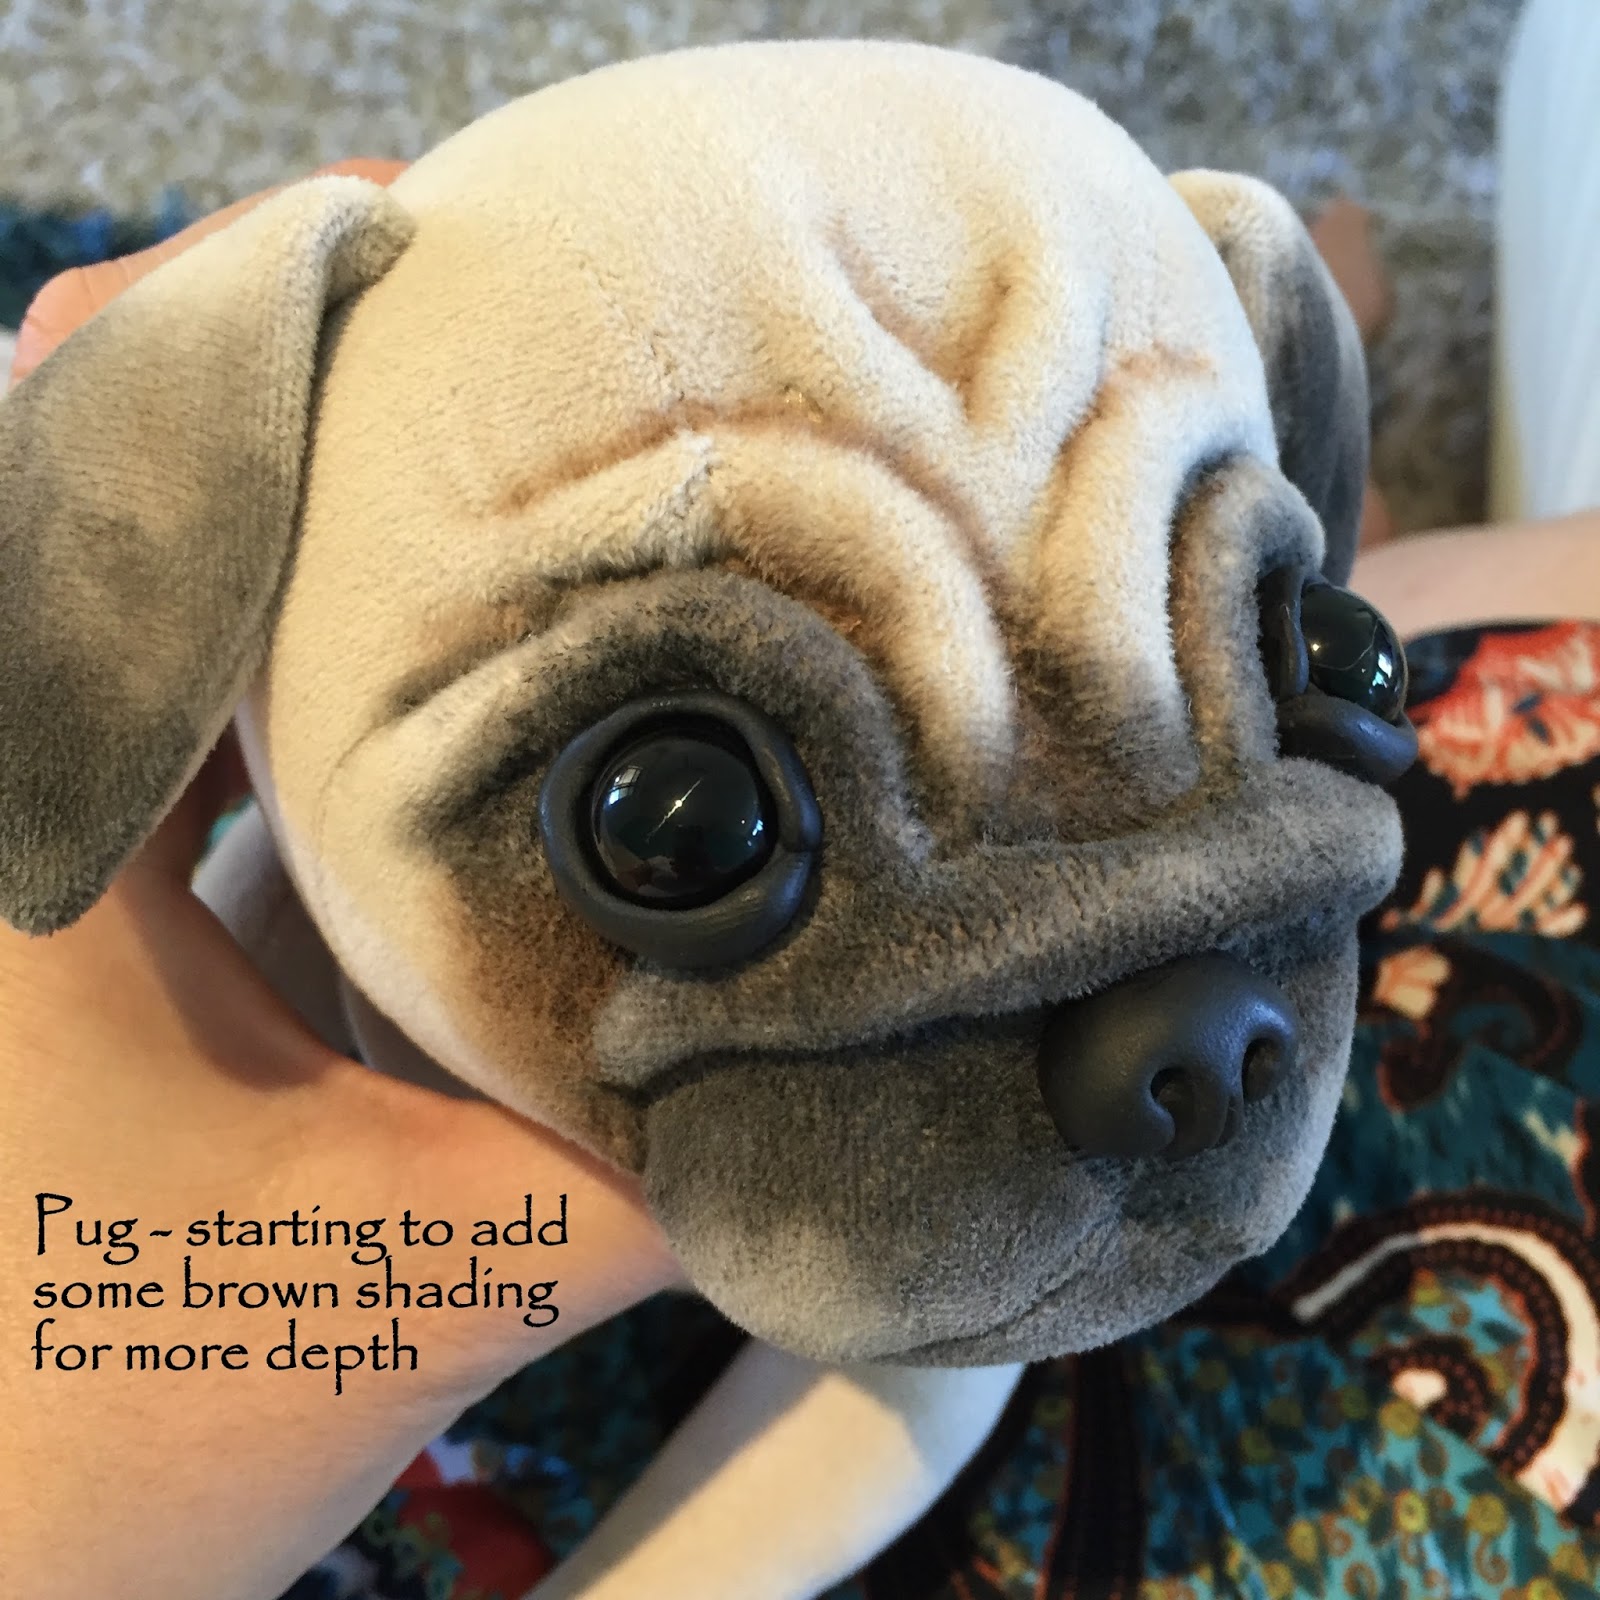
Then this morning we continued working on the shading, deepening the colour and adding some hints of brown as well. Then all of a sudden I had a sweet, slightly grumpy looking pug puppy looking back at me.
The family who commissioned him don't actually need him anymore (I probably should have checked before I started work on the new design! lol), so he is up for general adoption in our store.


No comments:
Post a Comment